Creating Skills
Learn how to create custom skills manually, import from files, or use GitHub repositories as skill sources.
Skills are markdown-based knowledge units that get loaded into assistant context on-demand. They support:
- ✅ Markdown content (up to 300KB) - instructions, code examples, best practices
- ✅ Tool references - specify which tools the skill requires
- ❌ No support for: external scripts, file attachments, binary assets, or embedded images
All skill content must be text-based markdown.
Creating a Skill
- Import from File
- Import from GitHub
- Create Manually
Supported Format
Markdown files with YAML metadata header.
You can download an example skill file from the Import from File dialog to use as a template.
Template structure:
---
name: example-skill
description: A brief description of what this skill helps with
---

# Example Skill

## Description
This is an example skill that demonstrates the markdown format for importing skills.

## Content
Your skill content goes here. This can include:
- Instructions for the AI assistant
- Code examples
- Best practices
- Any other relevant information

Example:
When the user asks for help with code review, follow these steps:
1. Analyze the code structure
2. Check for common issues
3. Provide constructive feedback

You can use markdown formatting including:
- **Bold text**
- *Italic text*
- Lists
- Code blocks
- Links and more
Import Process
- Click Create Skill button
- Click Import from File
- Click Select file from your local machine
- Choose your
.mdfile
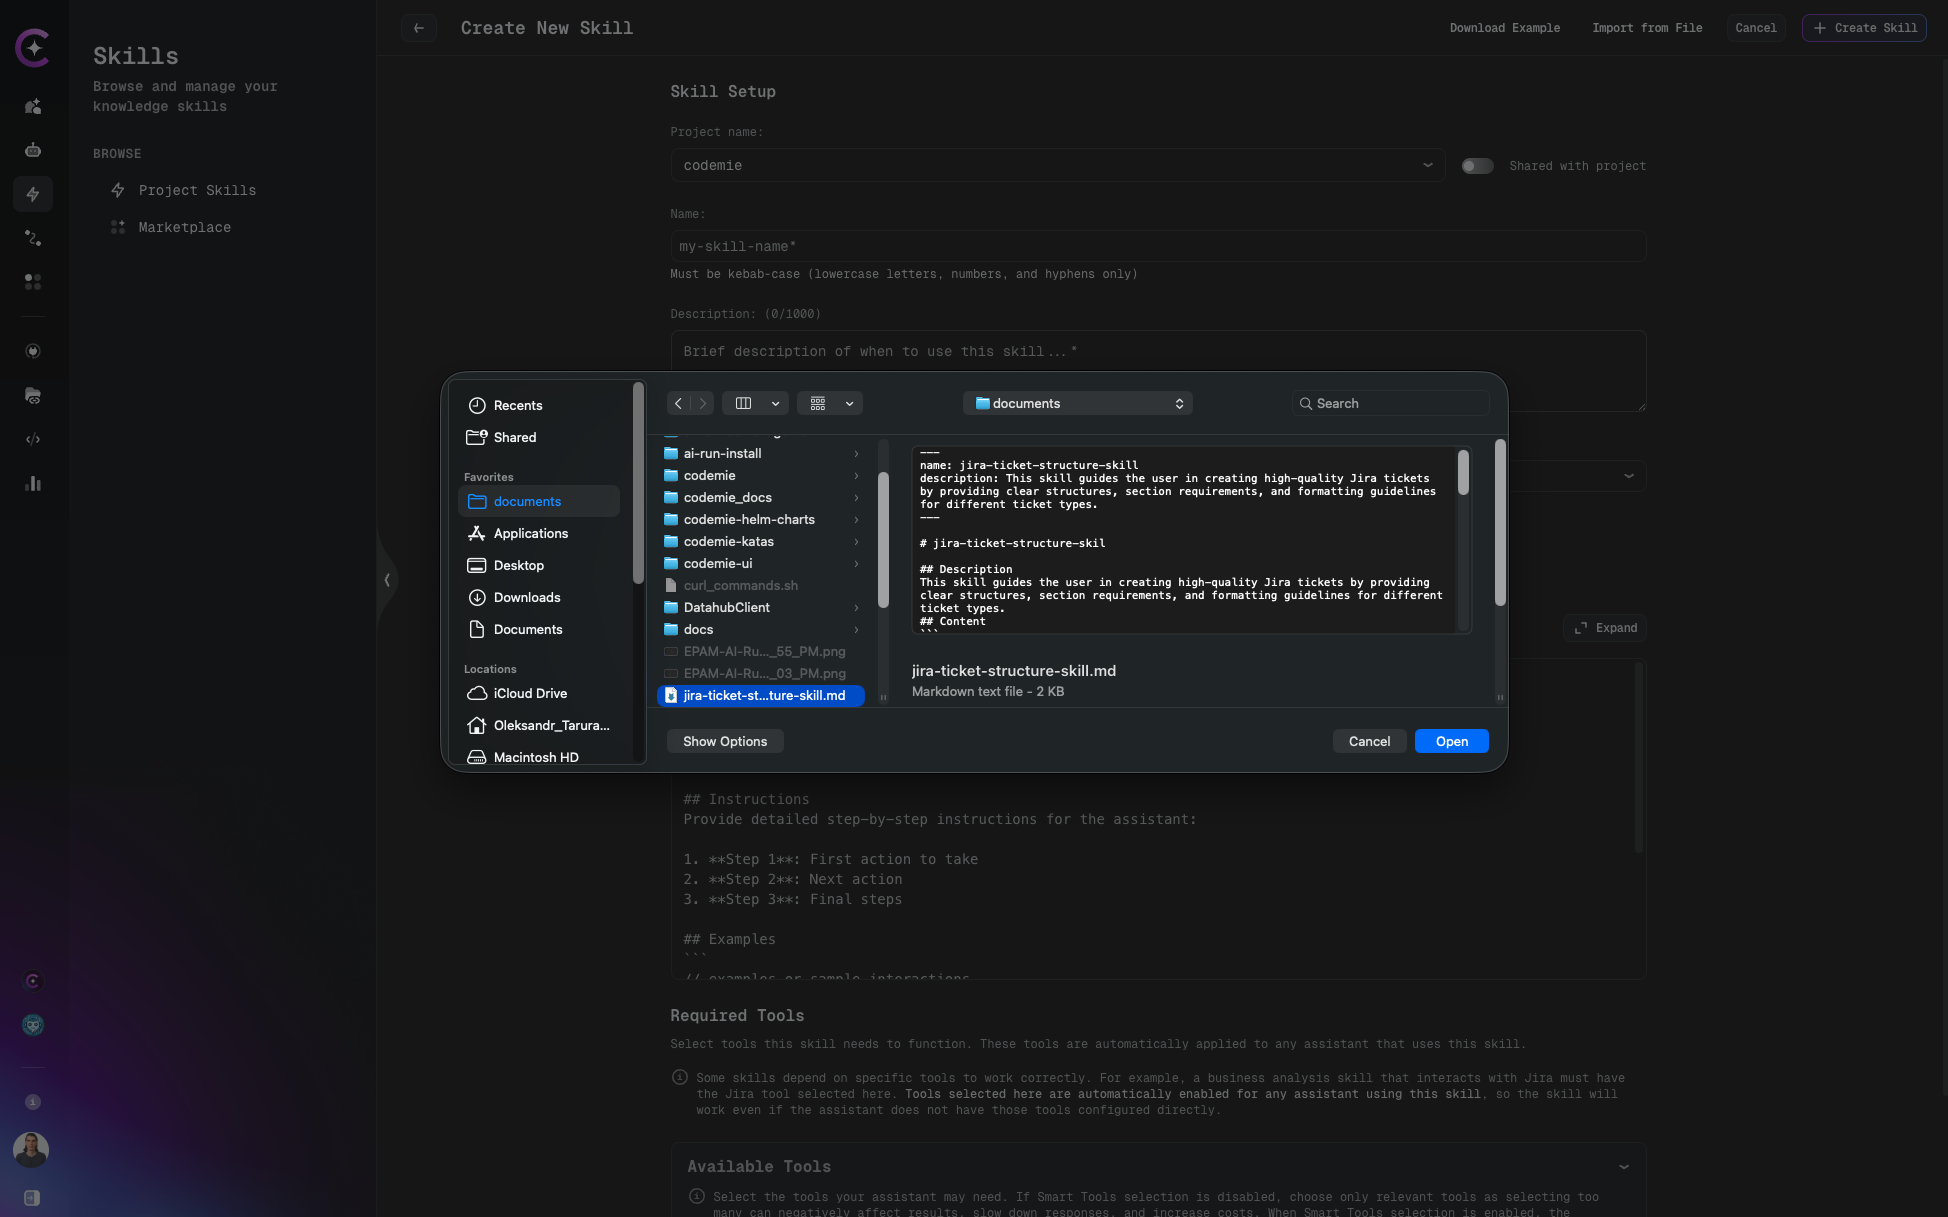
- Review auto-populated fields:
- Description field
- Instructions field
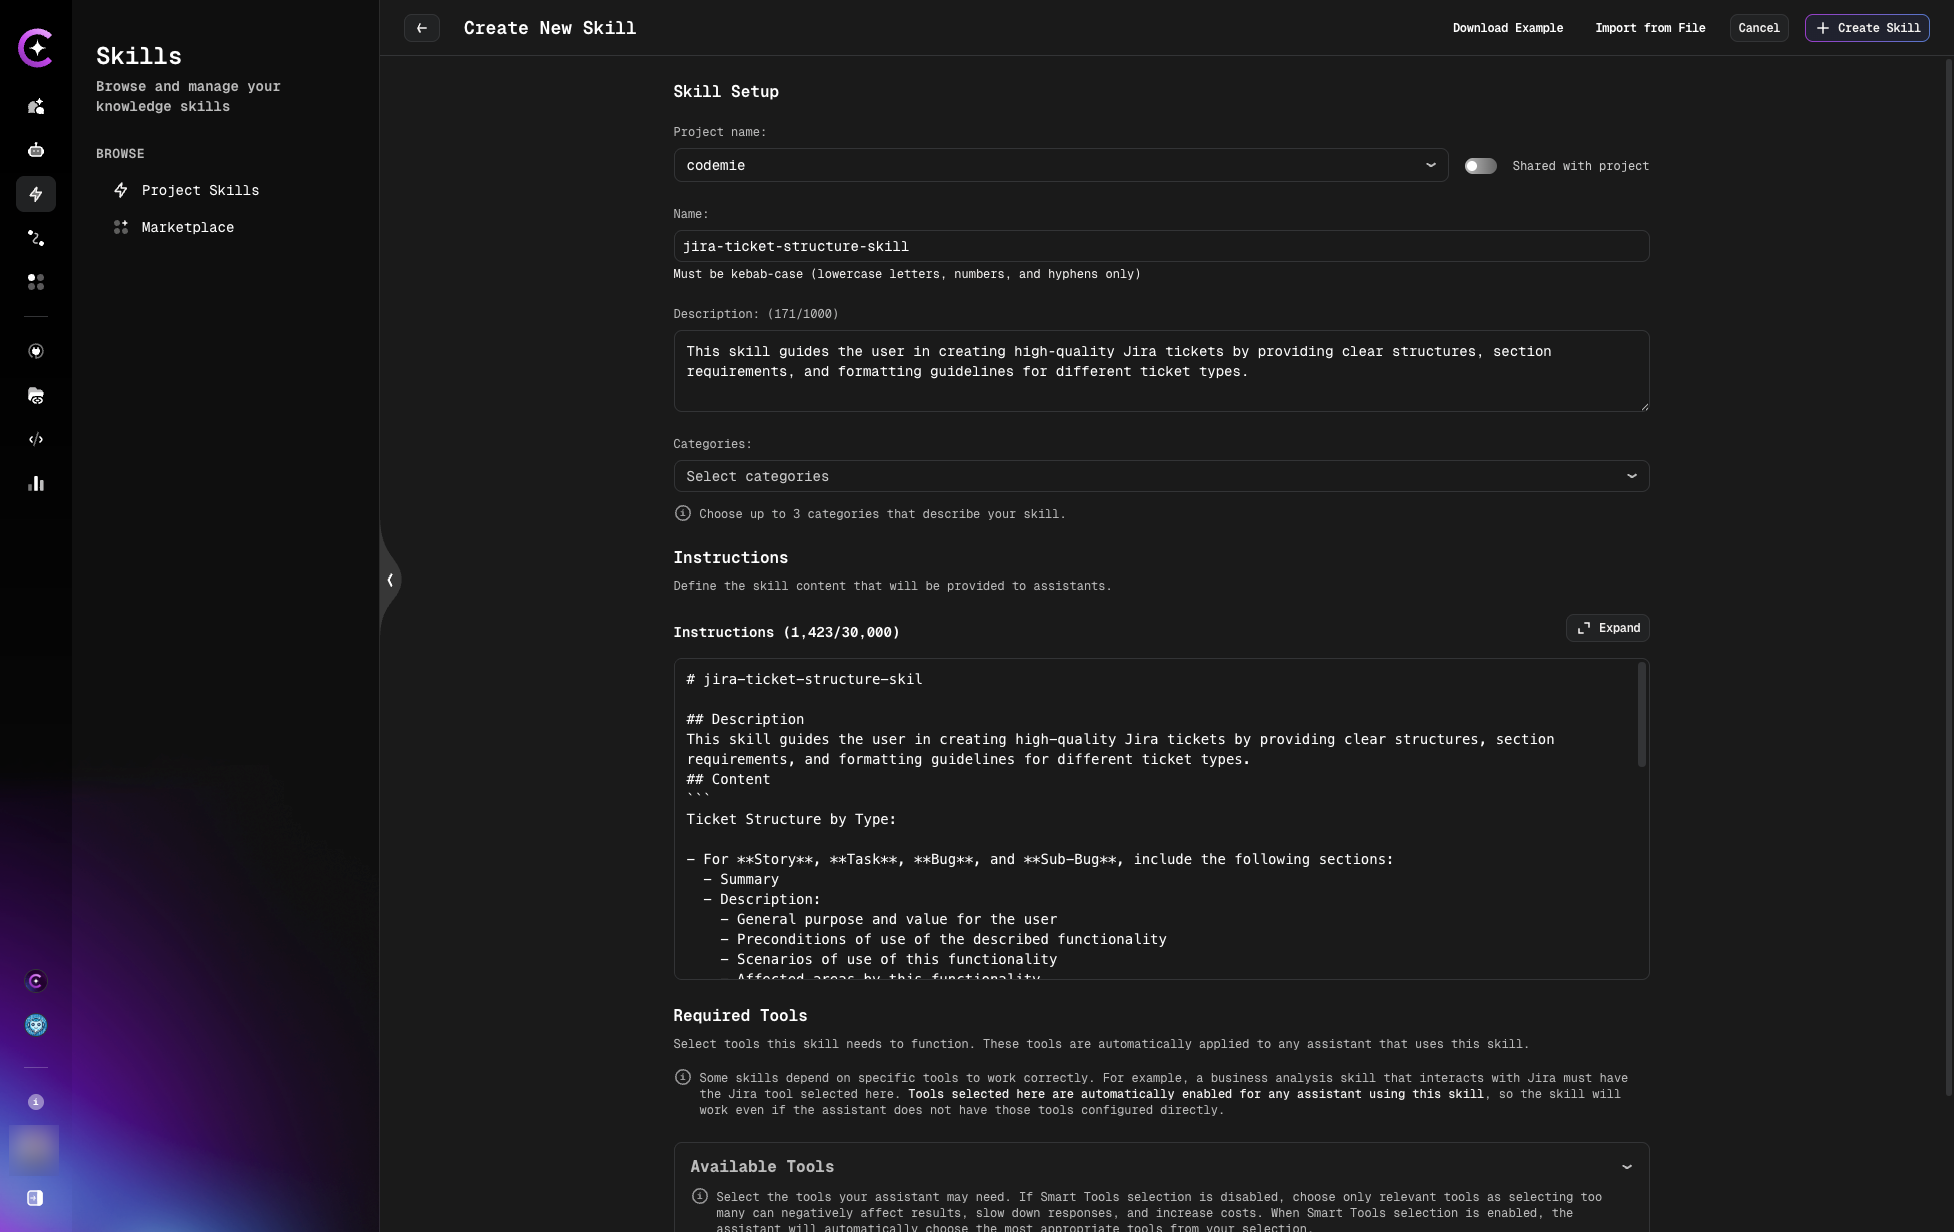
- Adjust if needed
- Click Create Skill
The import process automatically parses markdown structure and populates the Description and Instructions fields.
Public GitHub Repositories
You can use public GitHub repositories with pre-built skills.
Popular skill repositories:
- Claude Skills - Official Anthropic skills collection
To import from GitHub:
- Browse the repository
- Find the skill file (
.mdformat) - Download or copy the raw content
- Use Import from File method with the downloaded file
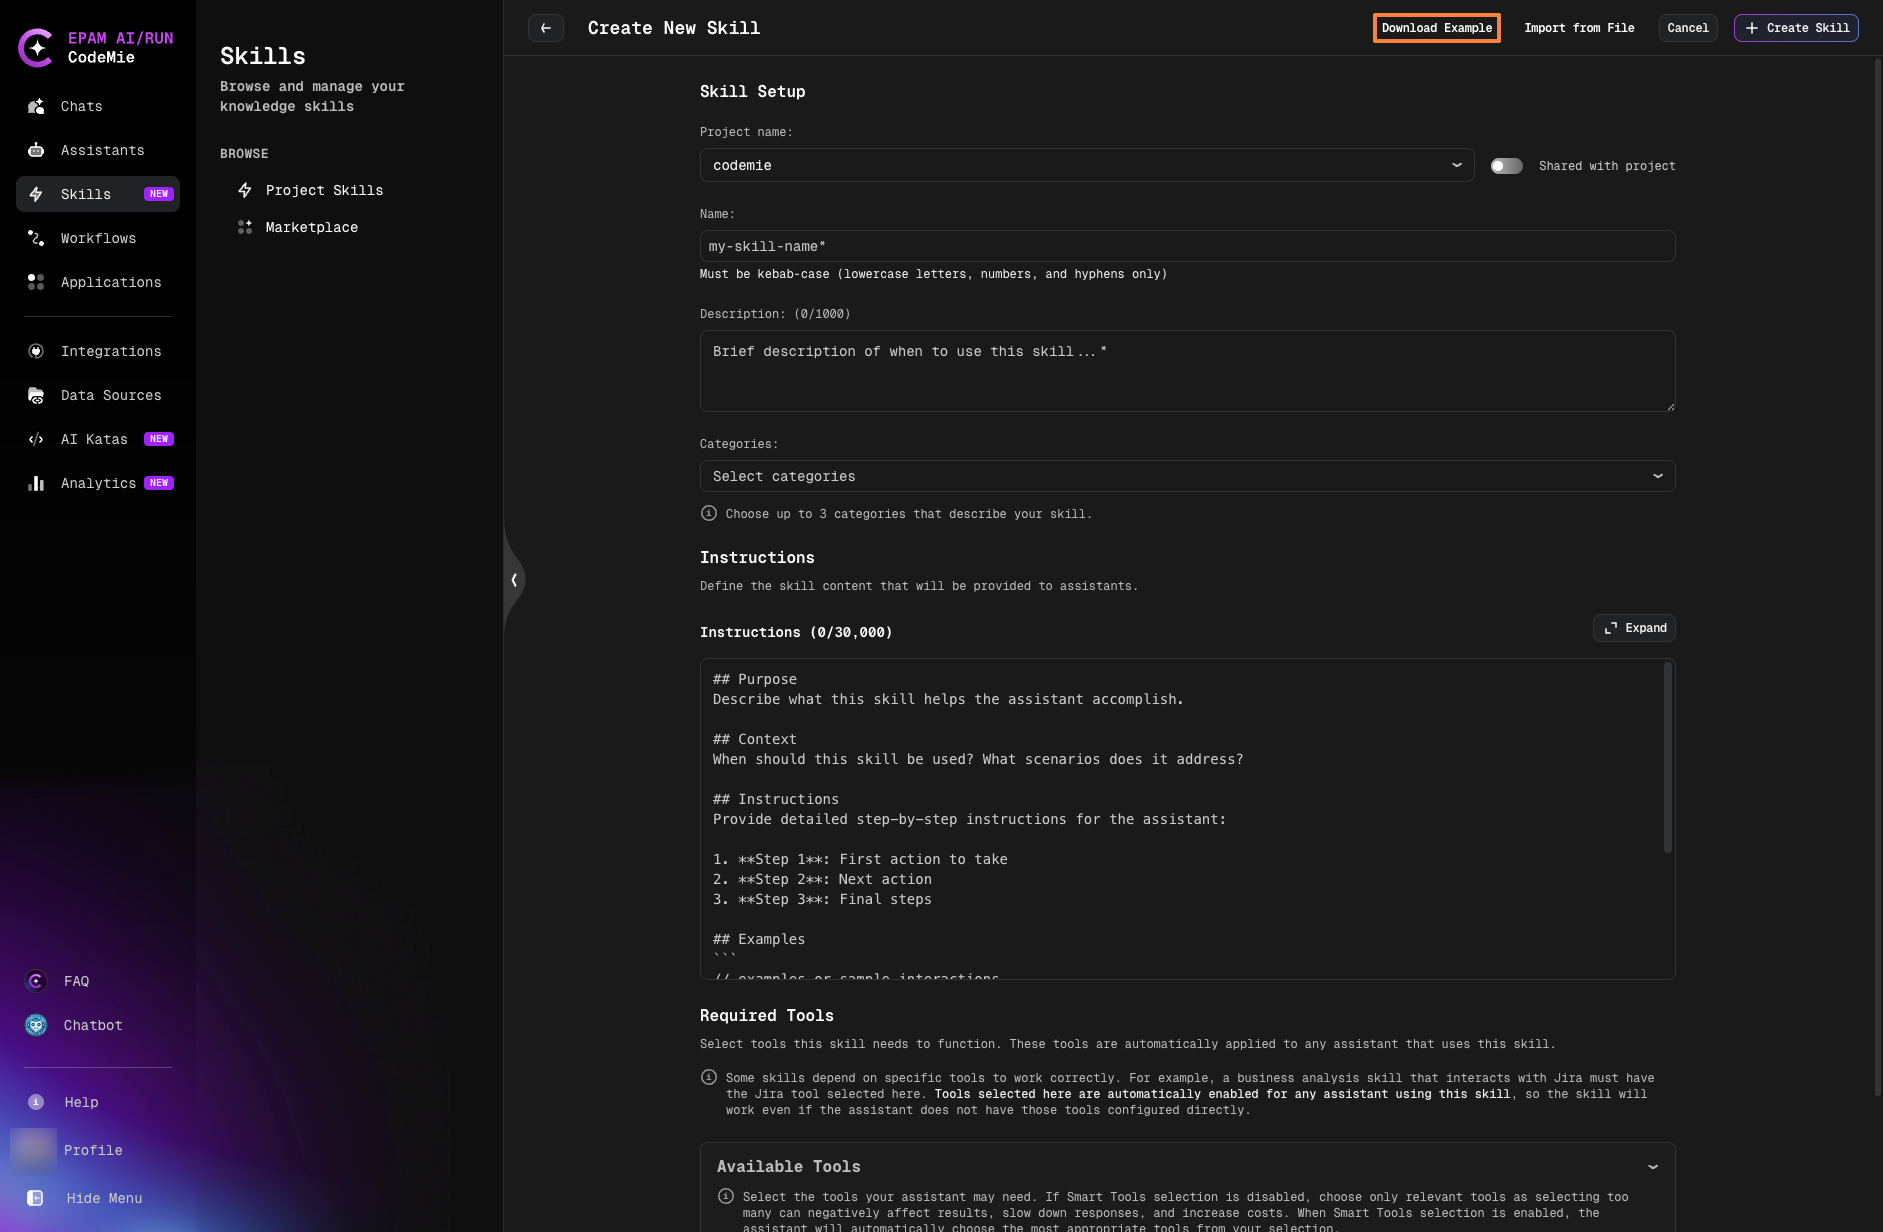
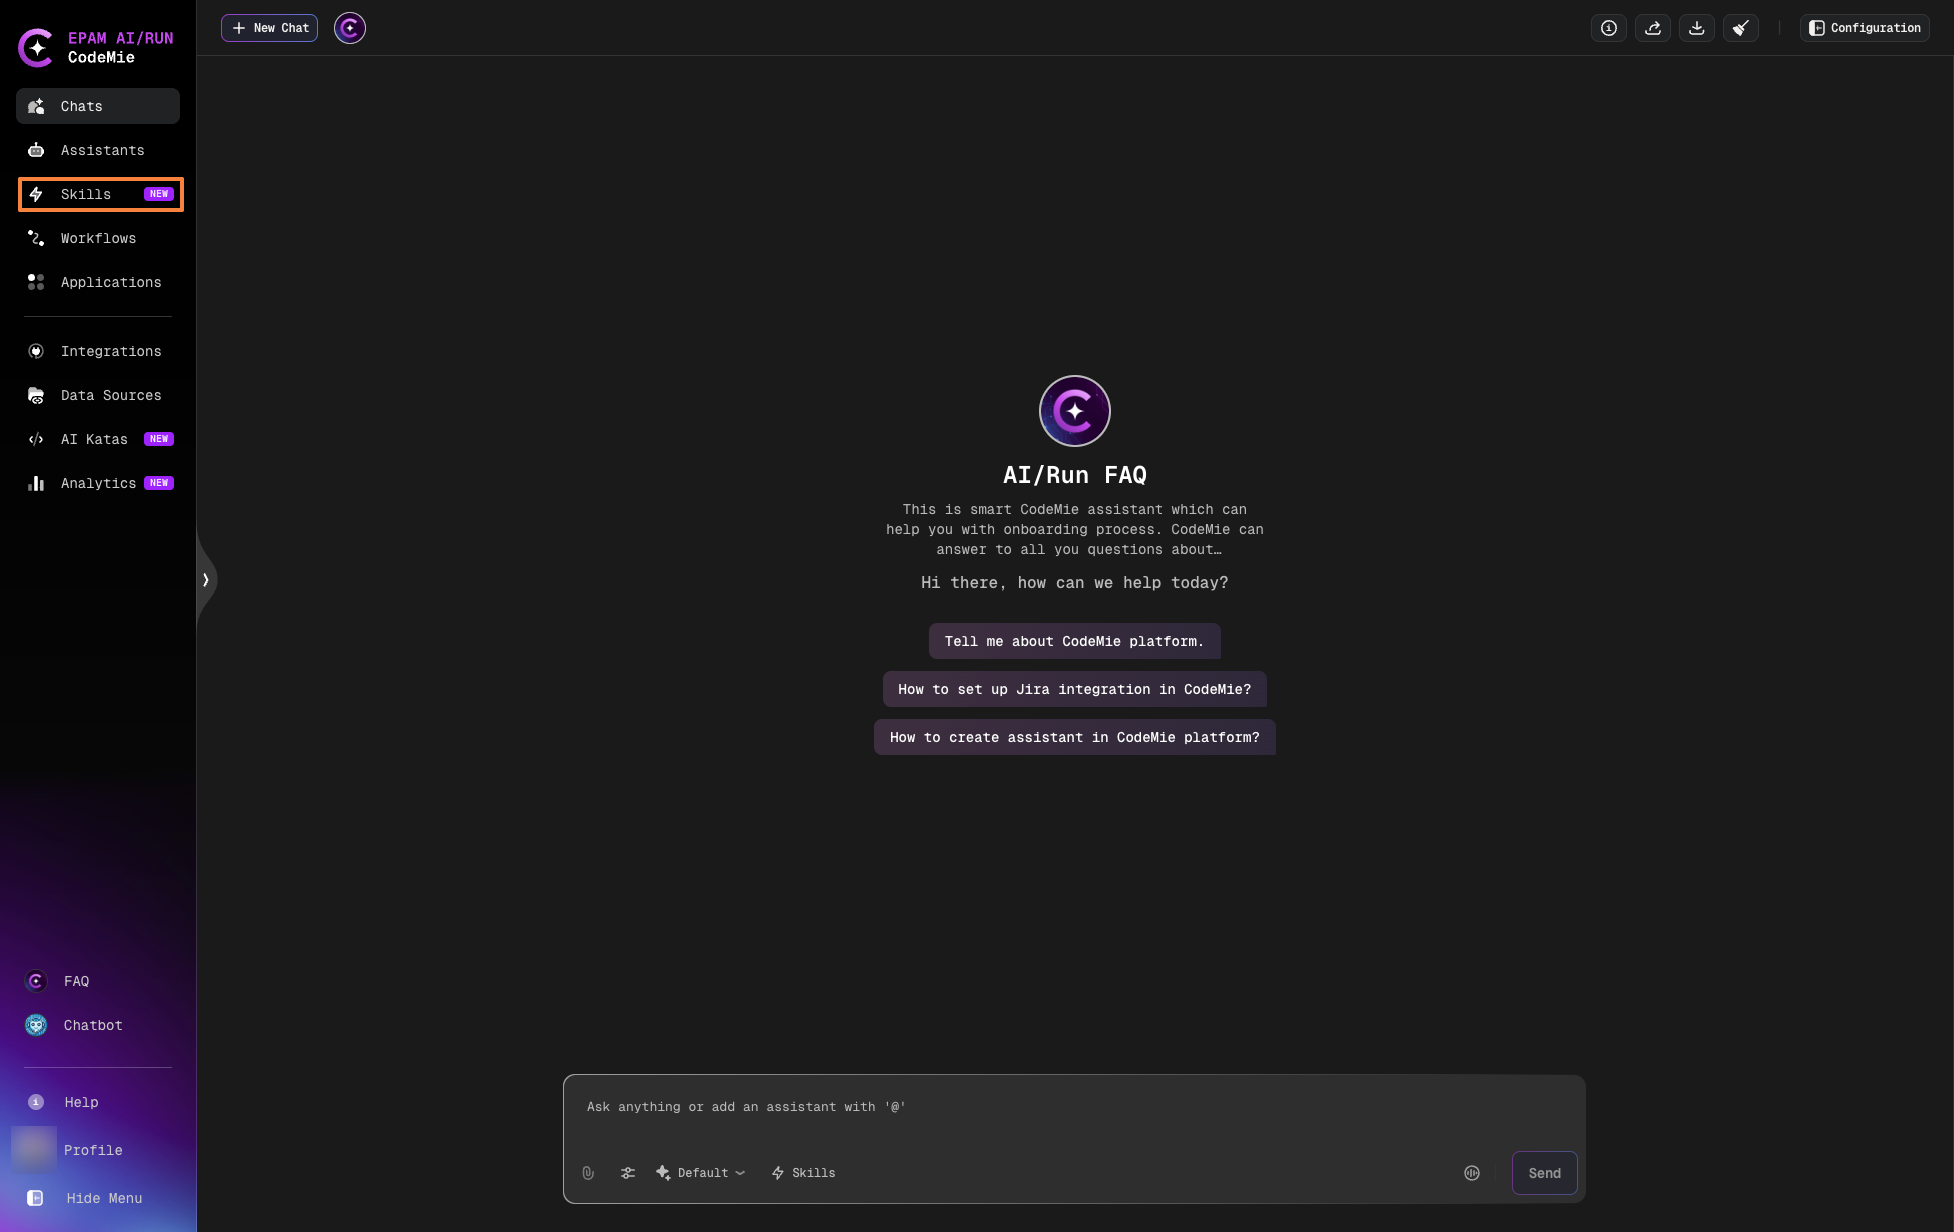
Step 1: Navigate to Skills Page
- Open CodeMie
- Click Skills in the left navigation panel and click Create Skill button
Step 2: Fill Required Fields
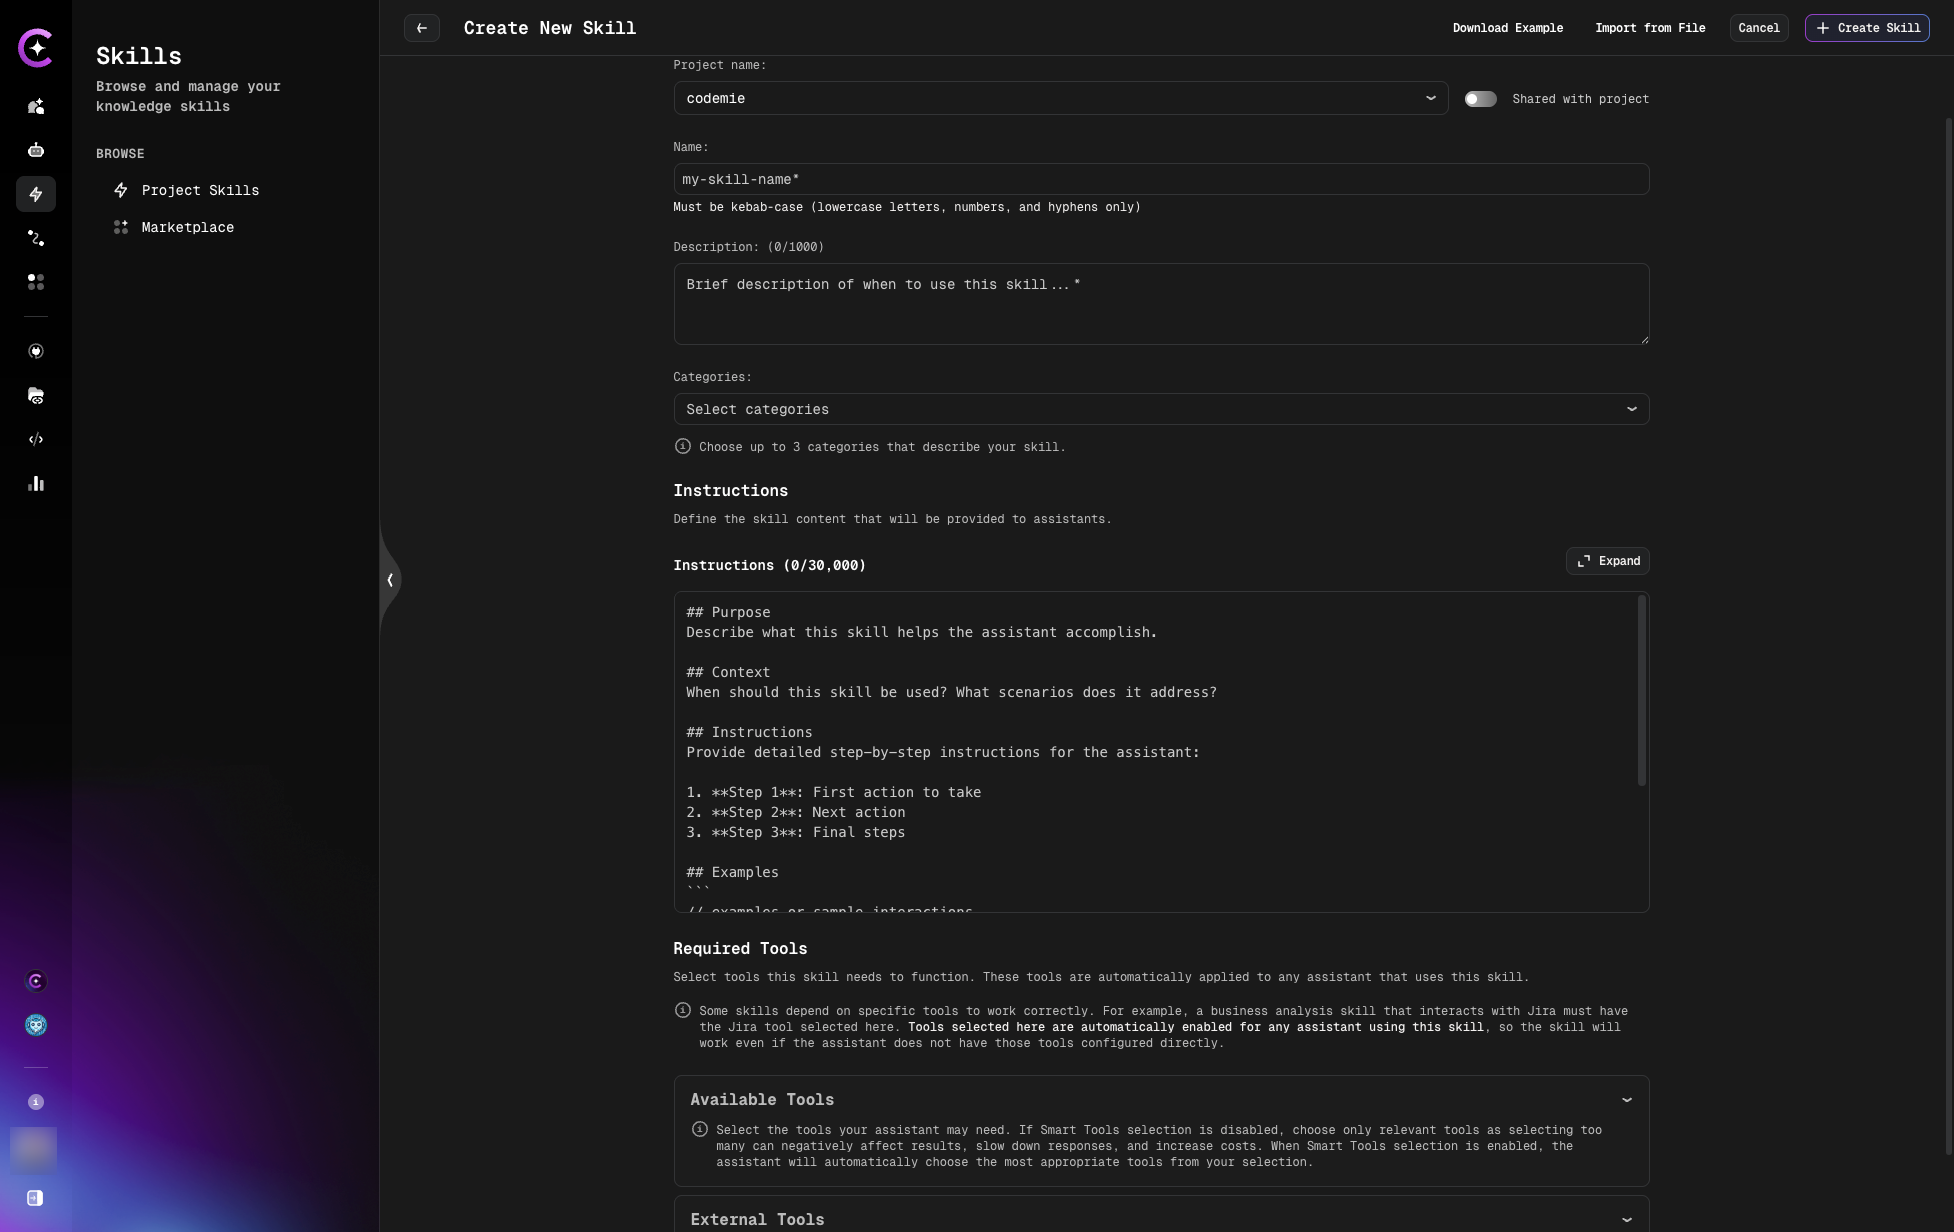
On the Create New Skill page, provide the following fields. Name, Description, and Instructions are required:
| Field | Required | Description |
|---|---|---|
| Project name | Yes | Select target project or leave default |
| Skill Name | Yes | Descriptive name (kebab-case (lowercase letters, numbers, and hyphens only)) |
| Sharing | No | Control visibility (private, project) |
| Description | Yes | Detailed information when we need to use this skill |
| Instructions | Yes | Step-by-step directions, context, and procedures |
| Available Tools | No | Select tools needed for this skill |
| External tools | No | These toolkits are provided by third-party vendors |
Enable Tool if Relevant
A Skill may include an associated tool, or it may not require one. When a Skill includes a tool, that tool will be activated and used together with the Skill during execution. If the Skill includes a tool, ensure that the corresponding tool integration (if required) is properly configured.
How to select tools:
- In the Available Tools field, select internal CodeMie tools if your skill needs them
- In the External tools field, select third-party tools (MCP servers, etc.)
- Leave empty if the skill only provides instructions without requiring specific tools
Example:
Skill Name: JIRA Ticket Structure Guidelines

Description:
Use this skill when creating, editing, or reviewing JIRA tickets to ensure
they follow company standards for formatting, completeness, and quality.

Instructions:
# JIRA Ticket Structure

## Title Format
- Use pattern: [TYPE] Brief description
- Types: STORY, BUG, TASK, EPIC
- Keep under 80 characters
- Example: [STORY] Add user authentication

## Description Template
**Problem:**
[What problem are we solving?]

**Solution:**
[How will we solve it?]

**Acceptance Criteria:**
- [ ] Criterion 1
- [ ] Criterion 2

## Labels
Required: component, priority, team
Step 3: Save the Skill
Click Create Skill to save.
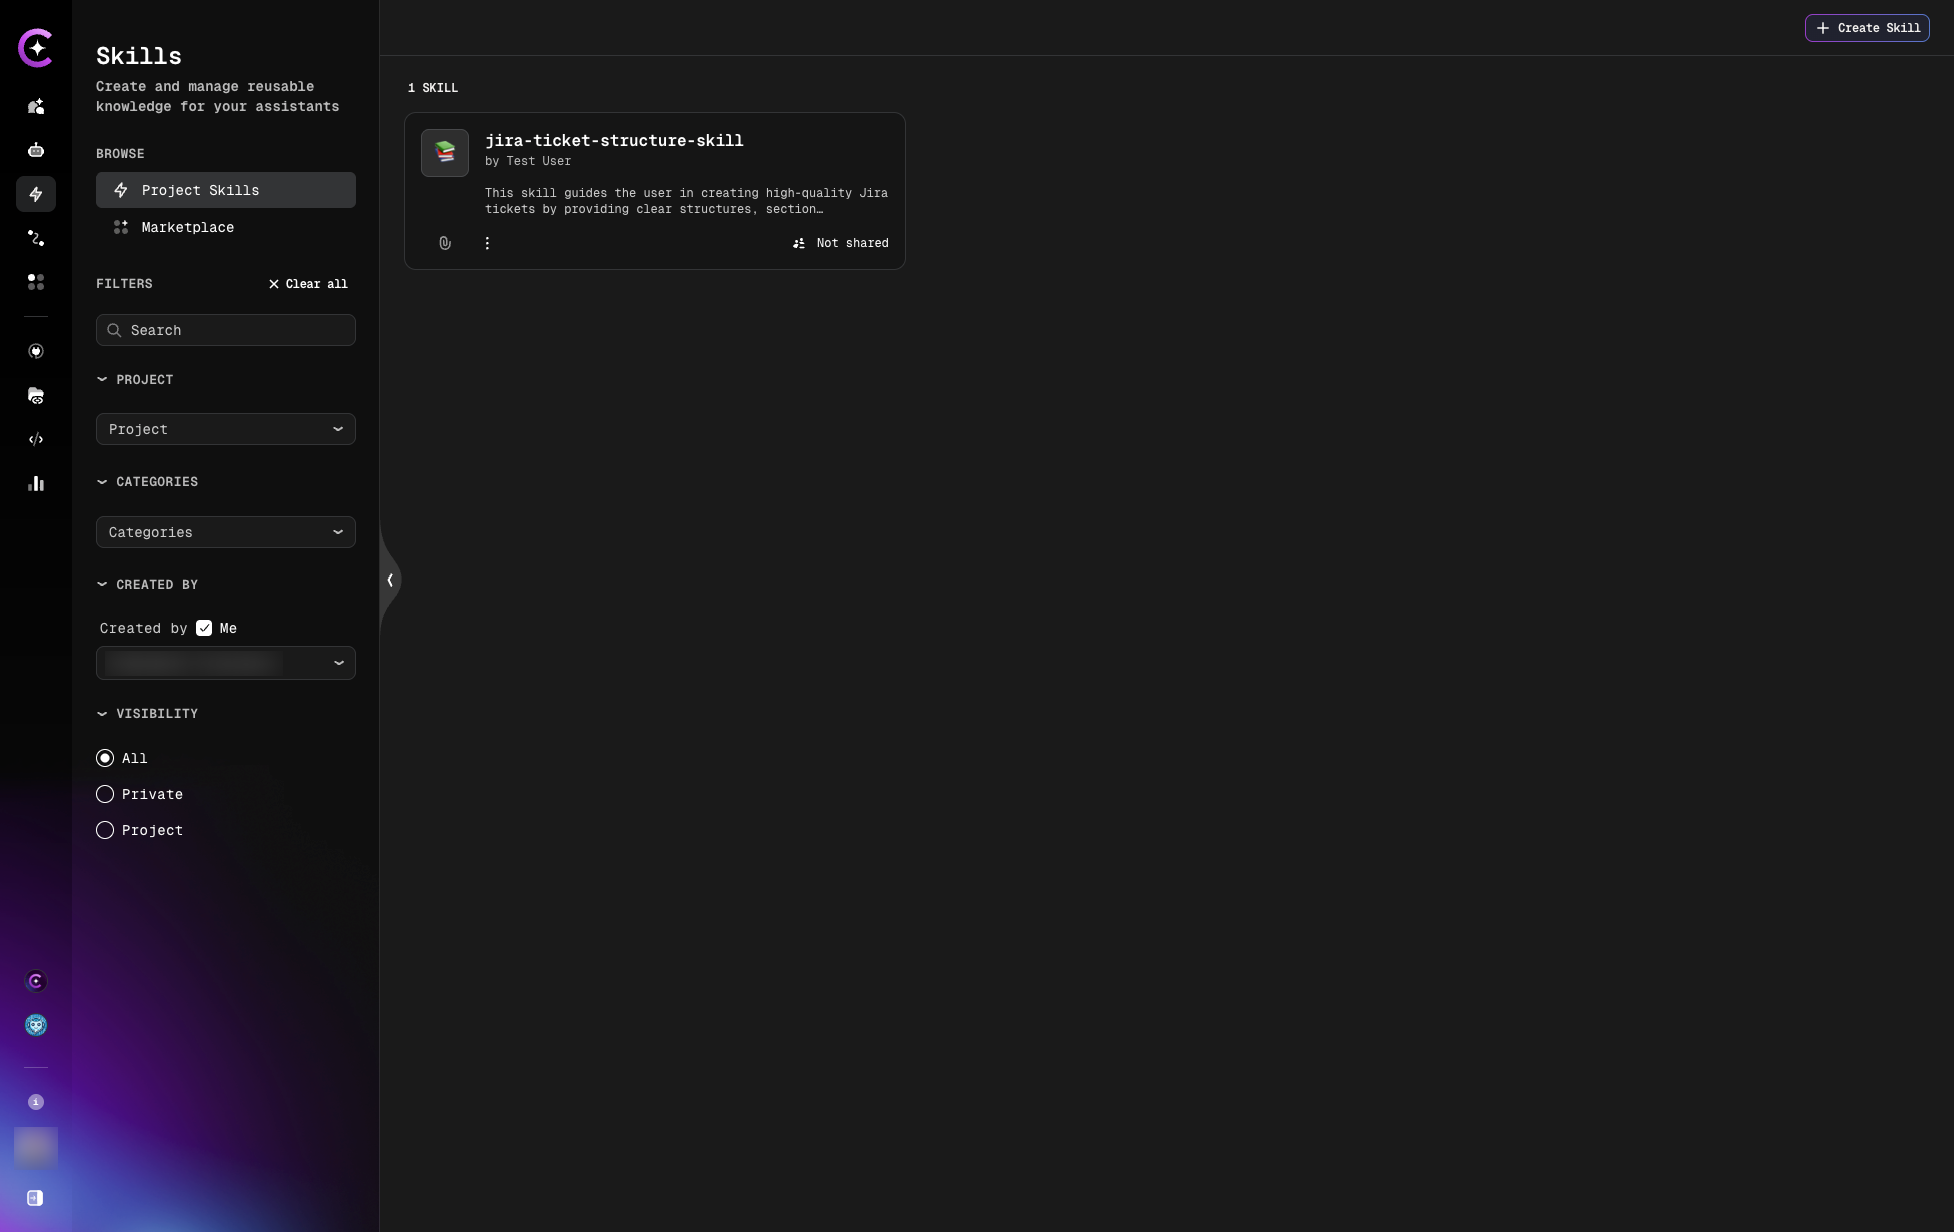
Result
After creating a skill using any method, it will appear in your Project Skills list:
Click on the skill to view its details page:
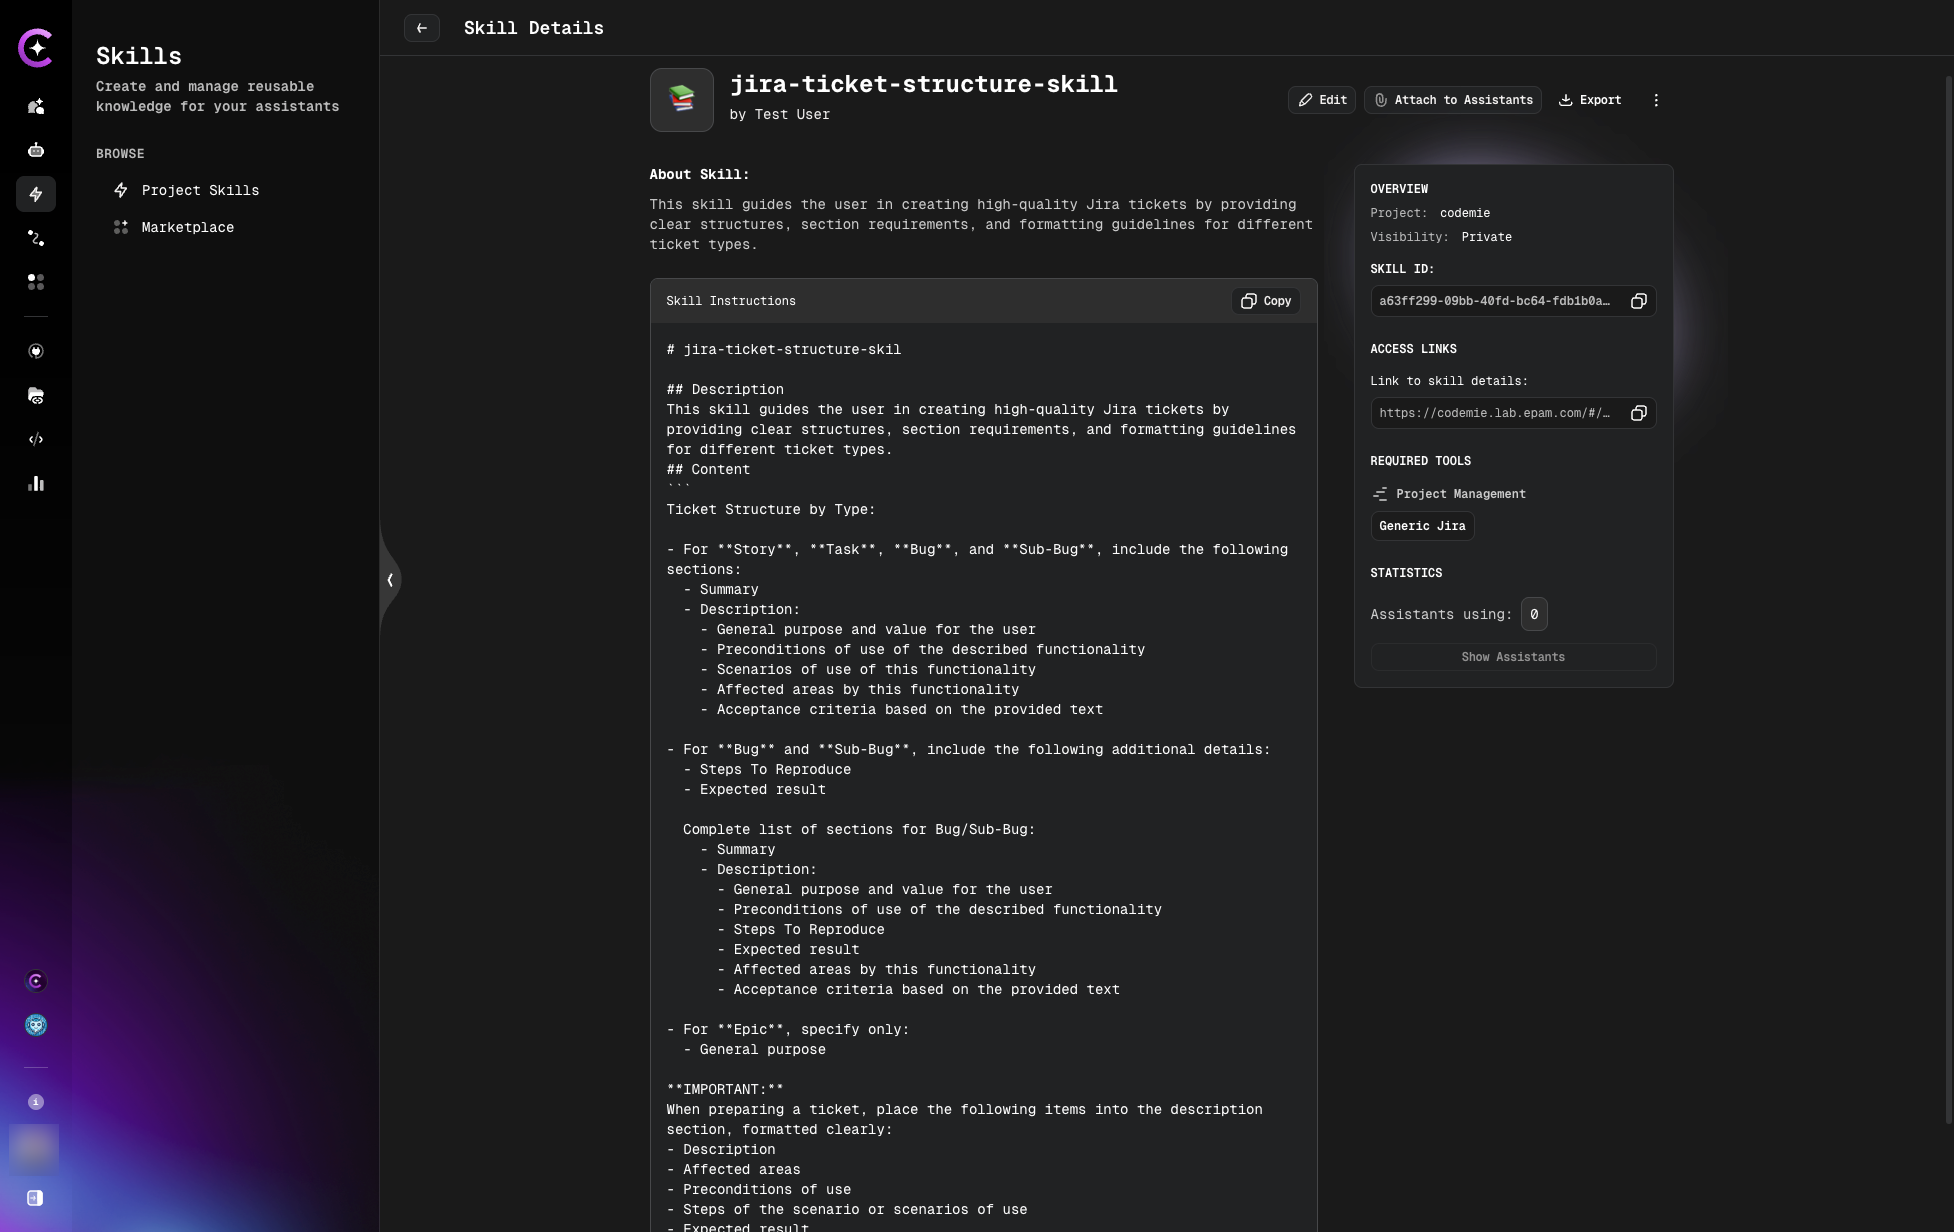
The created skill can now be:
- Attached to assistants
- Edited or exported
- Published to marketplace
- Used in chat conversations
Next Steps
After creating skills:
- Manage Skills - Edit, export, or delete skills
- Attach to Assistants - Use skills with assistants
- Publish to Marketplace - Share skills with community