Assign Roles
Assigning a role is the first mandatory step in user authorization. A role defines the user's fundamental capabilities within the AI/Run CodeMie platform.
Available Roles
| Role | Permissions & Configuration |
|---|---|
admin | Global Platform Administrator. This role grants the highest level of access and does not require any additional attributes. Permissions include: • Managing all assistants on the platform • Creating projects • Creating global integrations |
developer | Base role for project-level access. This role does nothing on its own. It always requires at least one attribute ( applications or applications_admin) to grant the user access to specific projects. |
How to Assign a Role
Follow these steps to assign a role to a user in Keycloak:
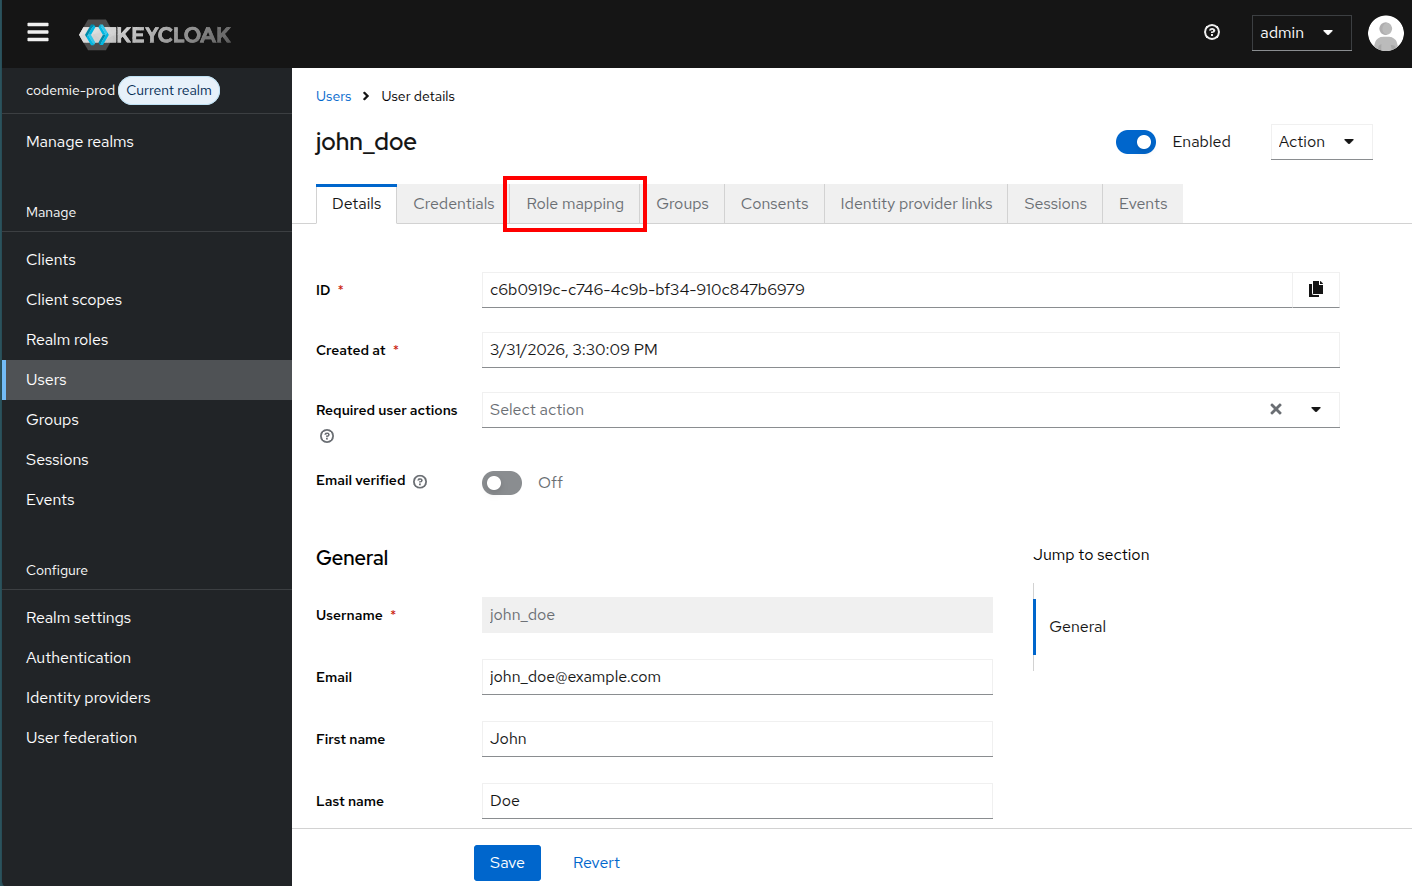
1. Navigate to User Details
From the User list in the codemie-prod realm, click on the username of the user you want to configure.

2. Open Role Mappings
In the User details page, navigate to the Role mappings tab.
3. Assign Role
Click Assign role and select Realm roles from the dropdown menu.
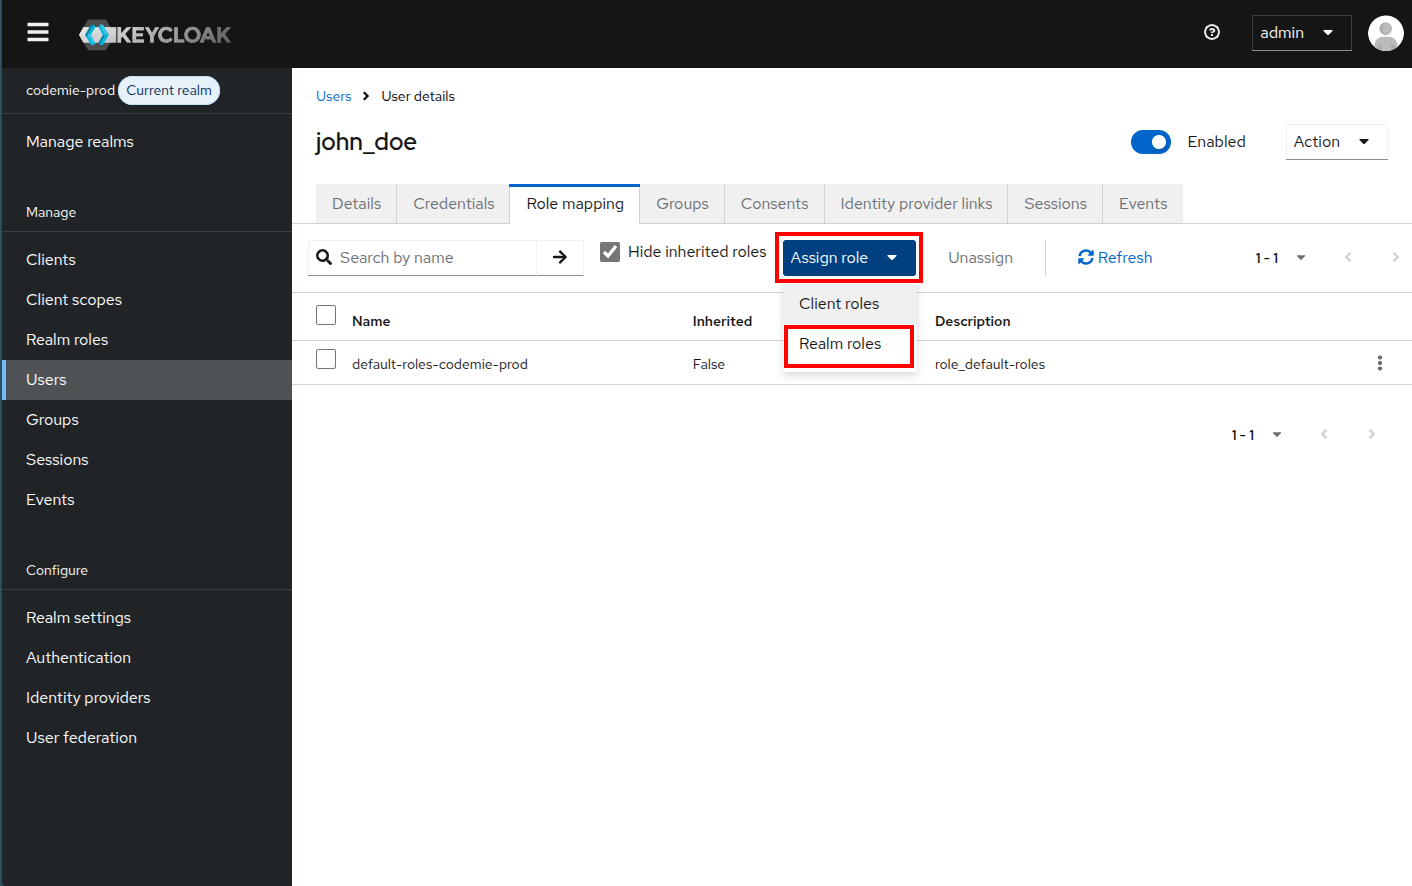
4. Select and Confirm
- Select the appropriate role (
adminordeveloper) - Click the Assign button to confirm

5. Verify Assignment
After assignment, the role should appear in the user's role mappings list. The user now has the basic permission to sign into the platform.
Next Steps
After assigning a role, the configuration path depends on the role assigned and the deployment mode:
For admin role users: Configuration is complete in both modes. The user can sign in
with full platform access.
For developer role users:
- Keycloak-managed mode (
ENABLE_USER_MANAGEMENT=False) — continue to Assign Attributes to grant project access via Keycloak attributes. Without attributes,developerusers cannot access any projects. - Platform-managed mode (
ENABLE_USER_MANAGEMENT=True) — no further Keycloak configuration needed. The user can sign in immediately. A Platform Admin then assigns them to projects through the in-app UI: see Project & User Management.